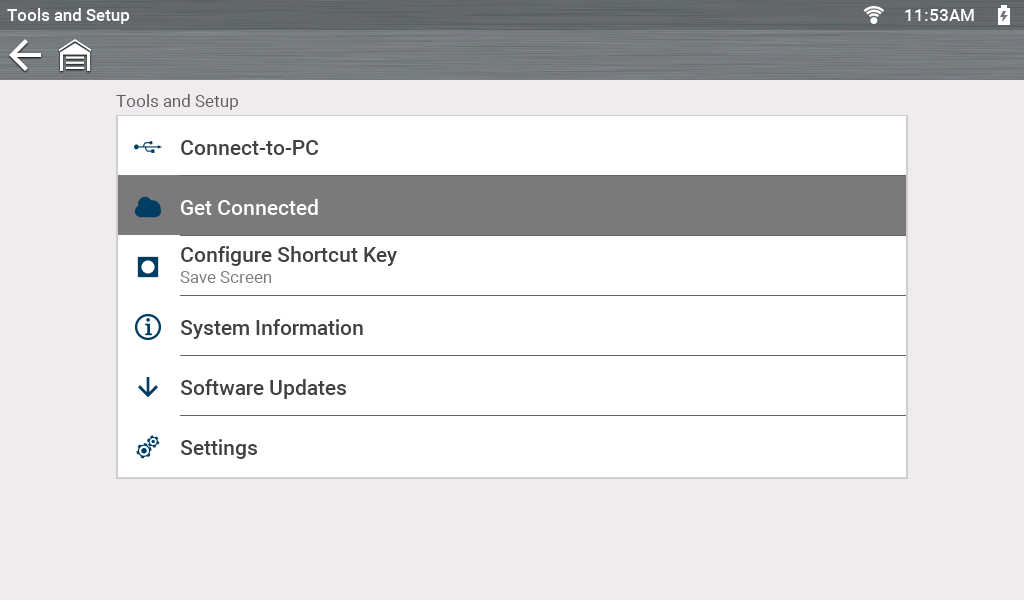
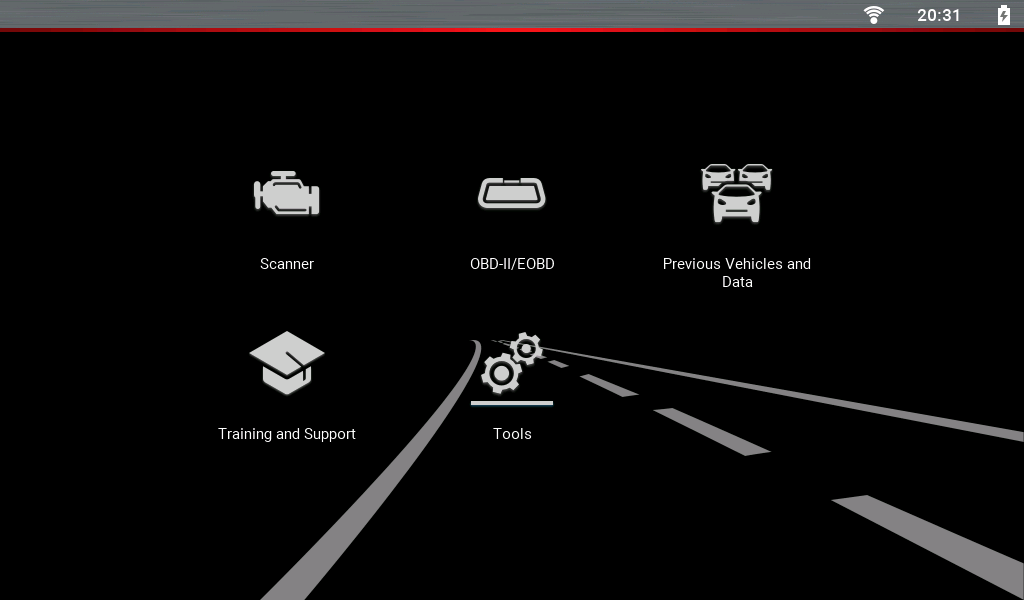
Tools
Transfer saved data files from your diagnostic tool to your personal computer.
| 1. | From the Home screen, select  Tools > Connect-to-PC. Tools > Connect-to-PC. |
| 2. | Connect the supplied USB cable to the diagnostic tool and PC. |
The diagnostic tool displays as an external drive on your PC, and the files are located in the “USERDATA” folder.
For additional information see, ShopStream Connect™
This screen displays the diagnostic tool Serial Number, PIN and Code, that are used to link your tool to your Snap-on Technician Profile (which allows you to use other apps like the Snap-on Cloud and Security Link).
From the Home screen, select Tools > Get Connected
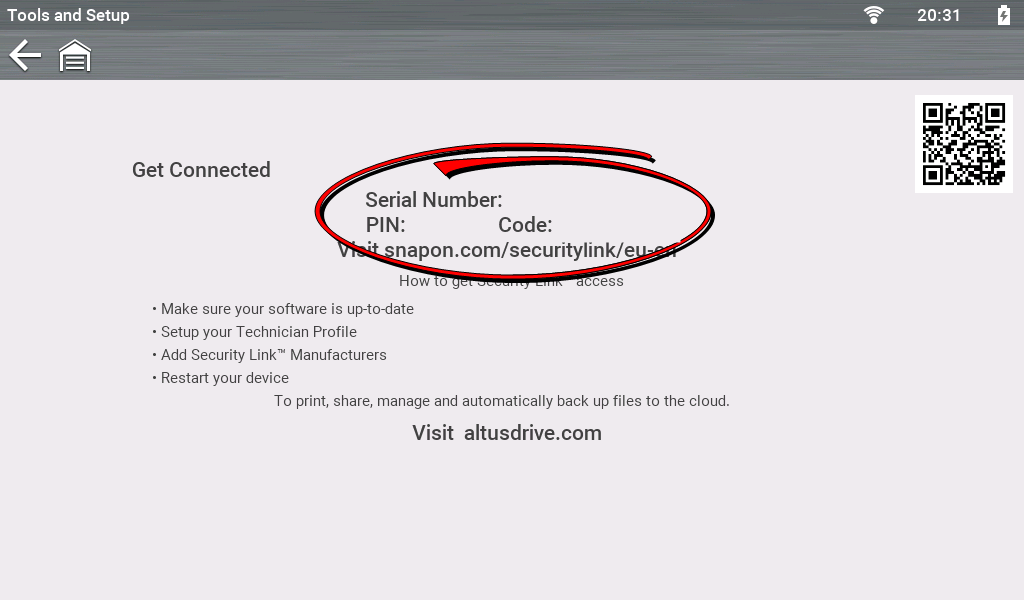
The PIN and Code numbers will change each time you view the Get Connected screen, this is normal. Any displayed set of PIN and Code numbers may be used.
Set the function of the Shortcut Key (button).
From the Home screen, select Tools > Configure Shortcut Key
Options:
| ● | Brightness—opens the brightness setting screen. |
| ● | Save Screen—saves a bitmap image of the visible screen. |
| ● | Save Movie—writes PID data from buffer memory to a file for future playback. |
| ● | Show Shortcut Menu—opens the menu so you can quickly select from any of the functions. |
| ● | Toggle Start/Pause—programs the Shortcut button to work as the Pause and Start icons. |
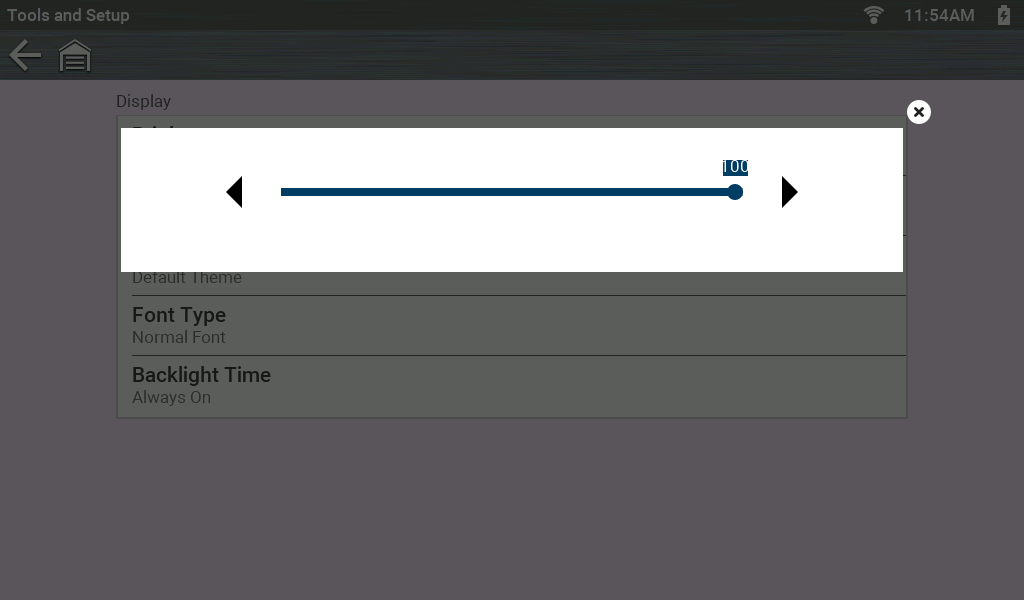
Set the screen brightness.
To change this setting — From the Home Screen: select Tools > Settings > System Settings > Display > Brightness
Use the icons to adjust.
Set display theme to Day Theme (white background), or Night Theme (black background).
To change this setting — From the Home Screen: select Tools > Settings > System Settings > Display > Color Theme
Night Theme - Shown
Set toolbar to Color or High Contrast (black and white).
To change this setting — From the Home Screen: select Tools > Settings > System Settings > Display > High Contrast Toolbar
High-contrast setting - Shown
Set the screen backlight inactivity on time.
To change this setting — From the Home Screen: select Tools > Settings > System Settings > Display > Backlight Time
Options:
| ● | Always On |
| ● | 15 Seconds |
| ● | 30 Seconds |
| ● | 45 Seconds |
| ● | 60 Seconds |
Set font style to regular or bold.
To change this setting — From the Home Screen: select Tools > Settings > System Settings > Display > Font Type
Set the time zone.
To change this setting — From the Home Screen: select Tools > Settings > System Settings > Date & Time > Time Zone
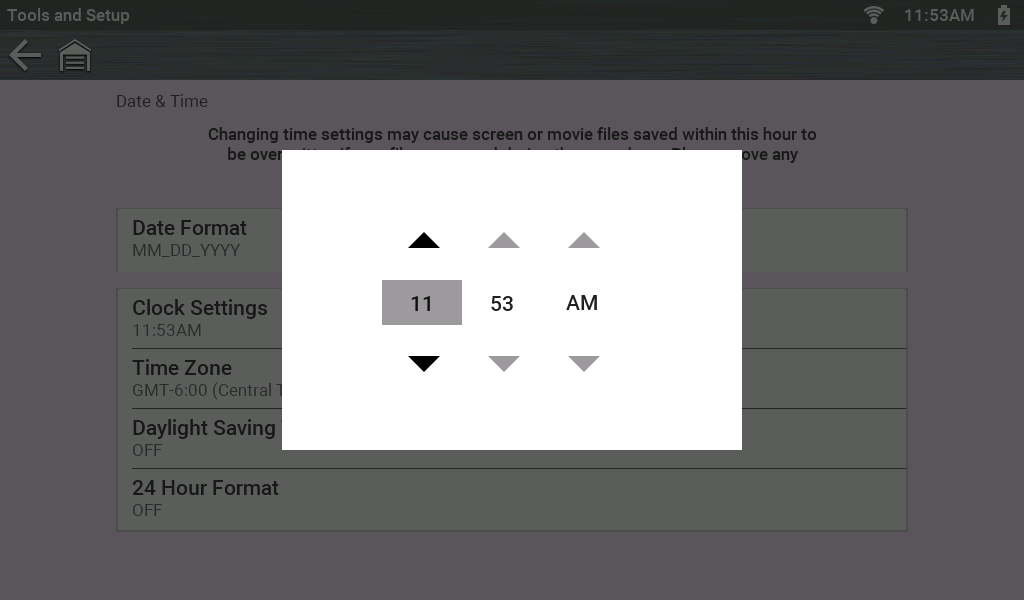
Set the clock time.
To change this setting — From the Home Screen: select Tools > Settings > System Settings > Date & Time > Clock Settings
| ● | Use up (+) and down (–) to set the numbers |
| ● | Use check (a) to move to next field. |
Turn Daylight Savings Time (On/Off).
To change this setting — From the Home Screen: select Tools > Settings > System Settings > Date & Time > Daylight Savings Time
Set how time is displayed, 12 or 24 hour.
To change this setting — From the Home Screen: select Tools > Settings > System Settings > Date & Time > 24 Hour Format
Set how date information is displayed.
To change these settings — From the Home Screen: select Tools > Settings > System Settings > Date & Time > Date Format
Options:
| ● | (MM_DD_YYYY)—Month, Day, Year |
| ● | (DD_MM_YYYY)—Day, Month, Year |
| ● | (YYYY_MM_DD)—Year, Month, Day |
Set scales (On/Off) within Scanner.
To change this setting — From the Home Screen select Tools > Settings > Configure Scanner > Graph Scale
Turn (On/Off) the Instant Vehicle ID option.
To change this setting — From the Home Screen select Tools > Settings > Configure Scanner > Auto VIN
Turn (On/Off) the scanning of OBD-II codes and monitors for Code Scan.
To change this setting — From the Home Screen select Tools > Settings > Configure Scanner > Code Scan Generics
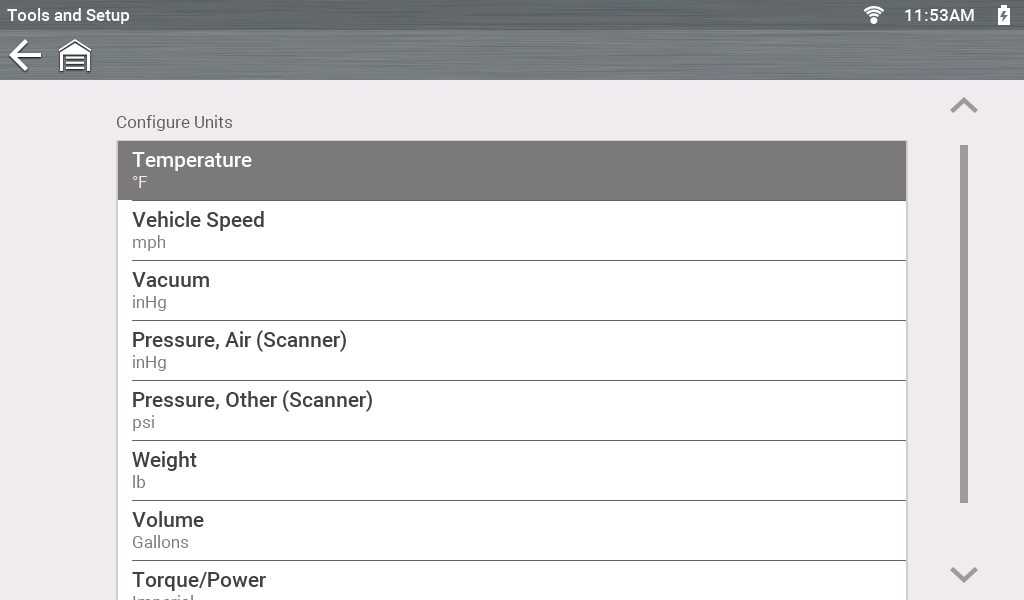
Set units of measure to US Customary or Metric.
To change these settings — From the Home Screen: select Tools > Settings > Configure Units