Using ShopStream Connect to Print Customized Vehicle Code Scan Reports
Adding Your Shop Information to the Report
|
1.
|
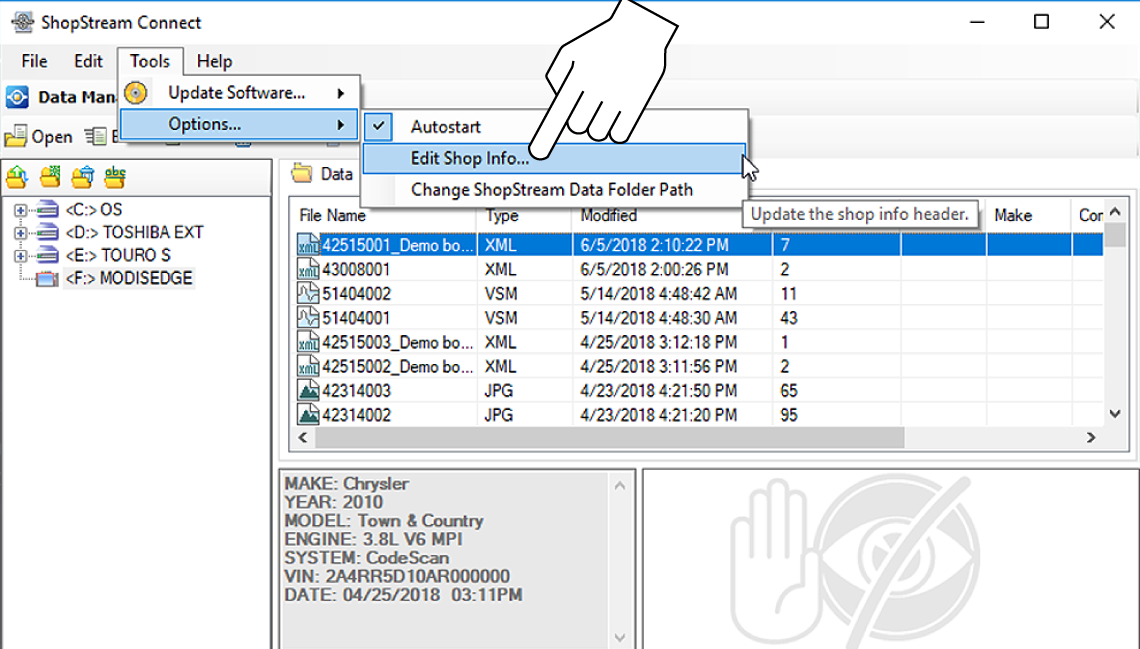
From SSC, select Tools > Options > Edit Shop Info. |
|
2.
|
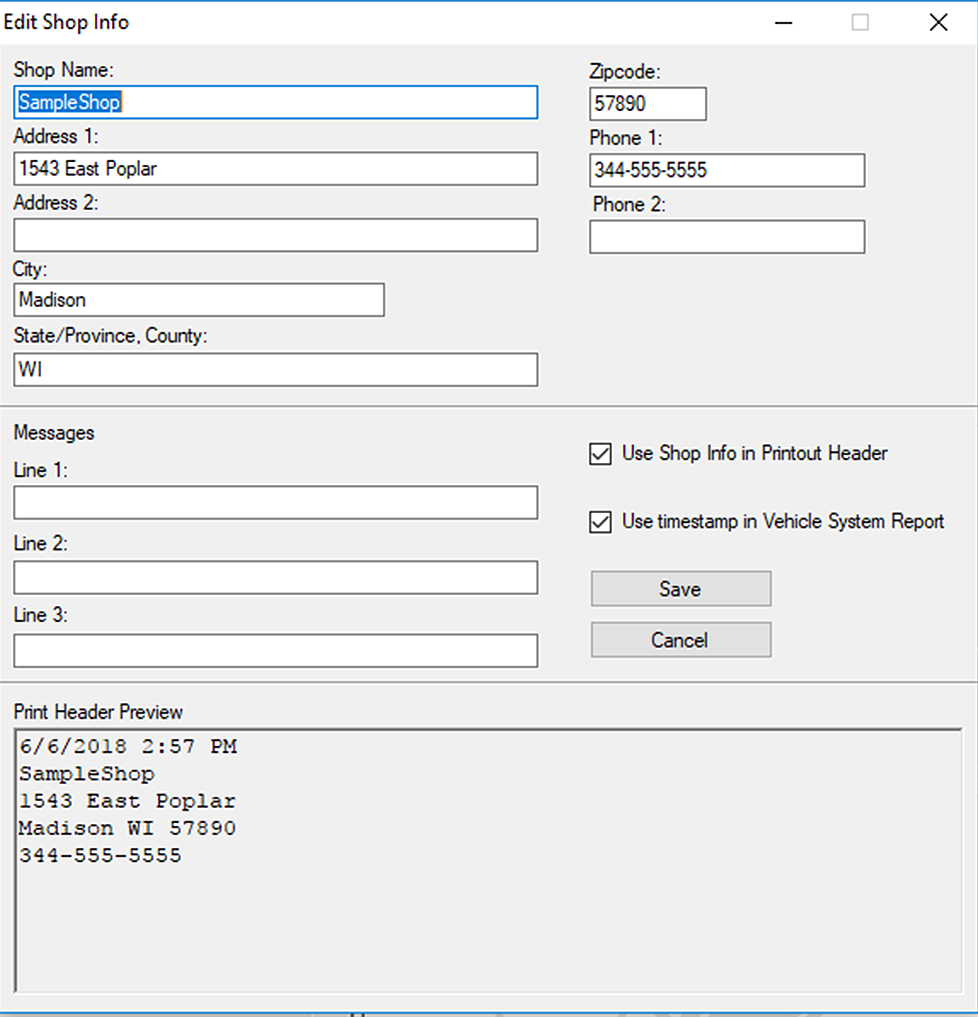
A preview panel at the bottom of the box shows how the information will appear on a print out. |
|
3.
|
Check the “Use Shop Info in Printout Header” box to show the Shop Info in the printout. |
|
4.
|
Check the “Use timestamp in Vehicle System Report” box to show the time the vehicle was scanned in the printout. |
|
5.
|
When you are finished editing, select Save to save the information and close the dialog box. |
Editing the Report
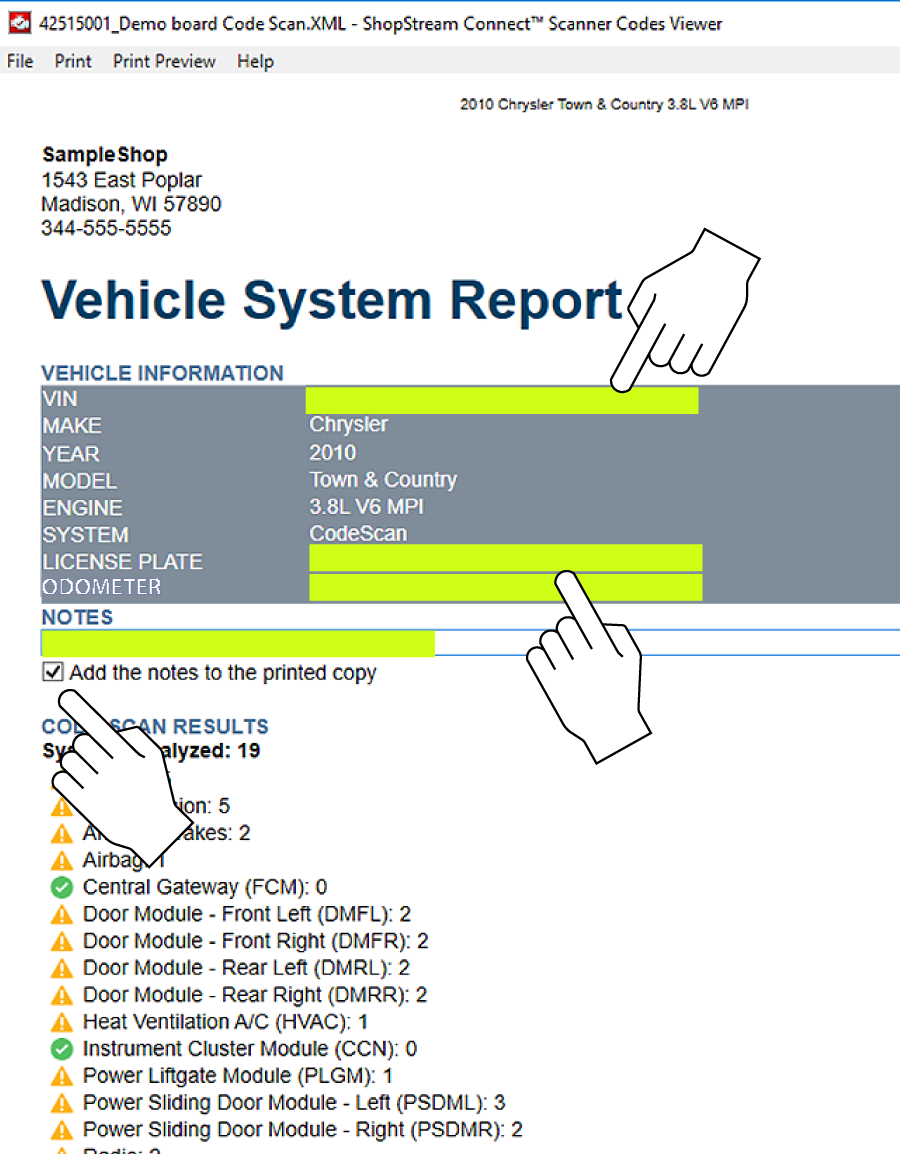
After the report is generated, you can edit the VIN, License Plate, and Odometer fields, as well as add notes to the report, using SSC.
|
1.
|
From SSC, open the Vehicle System Report .XML file to be edited. |
|
2.
|
Click in the editable fields as shown to change the values or add notes. |
|
3.
|
Check the “Add the notes to the printed copy” box to show the notes in the printout. From SSC, select Tools > Options > Edit Shop Info. |
Printing the Report
|
1.
|
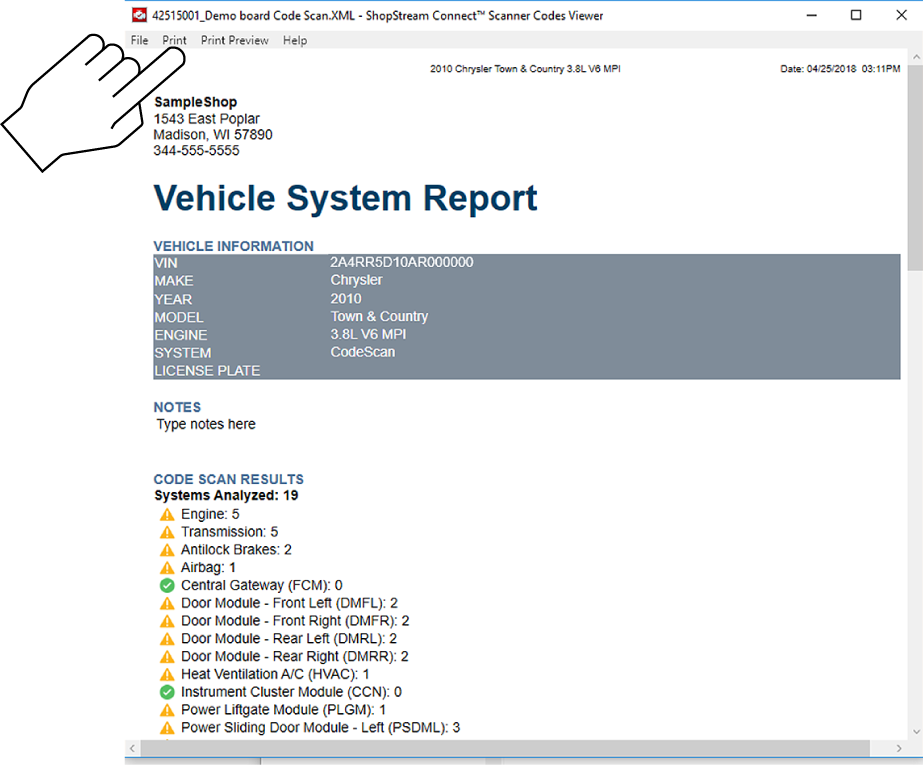
Open the applicable Vehicle System Report file from the list. |
|
2.
|
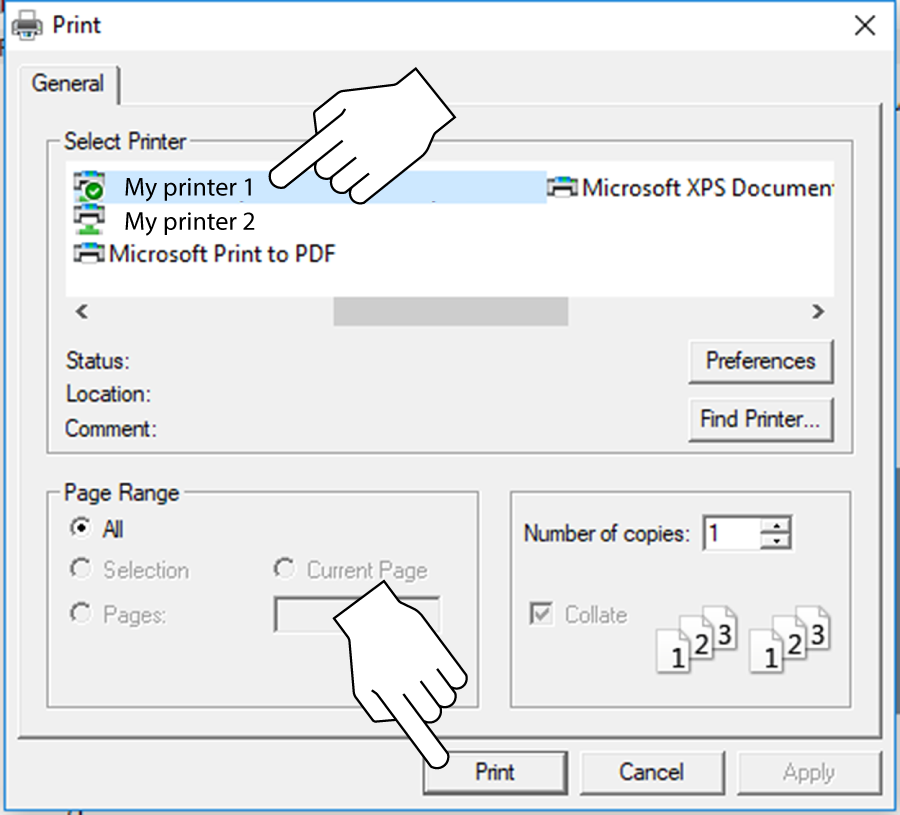
From the report viewer, selecting Print opens the Windows print dialog window. |
|
3.
|
Select your printer from the list, then select Print to print the report. |