Getting Started
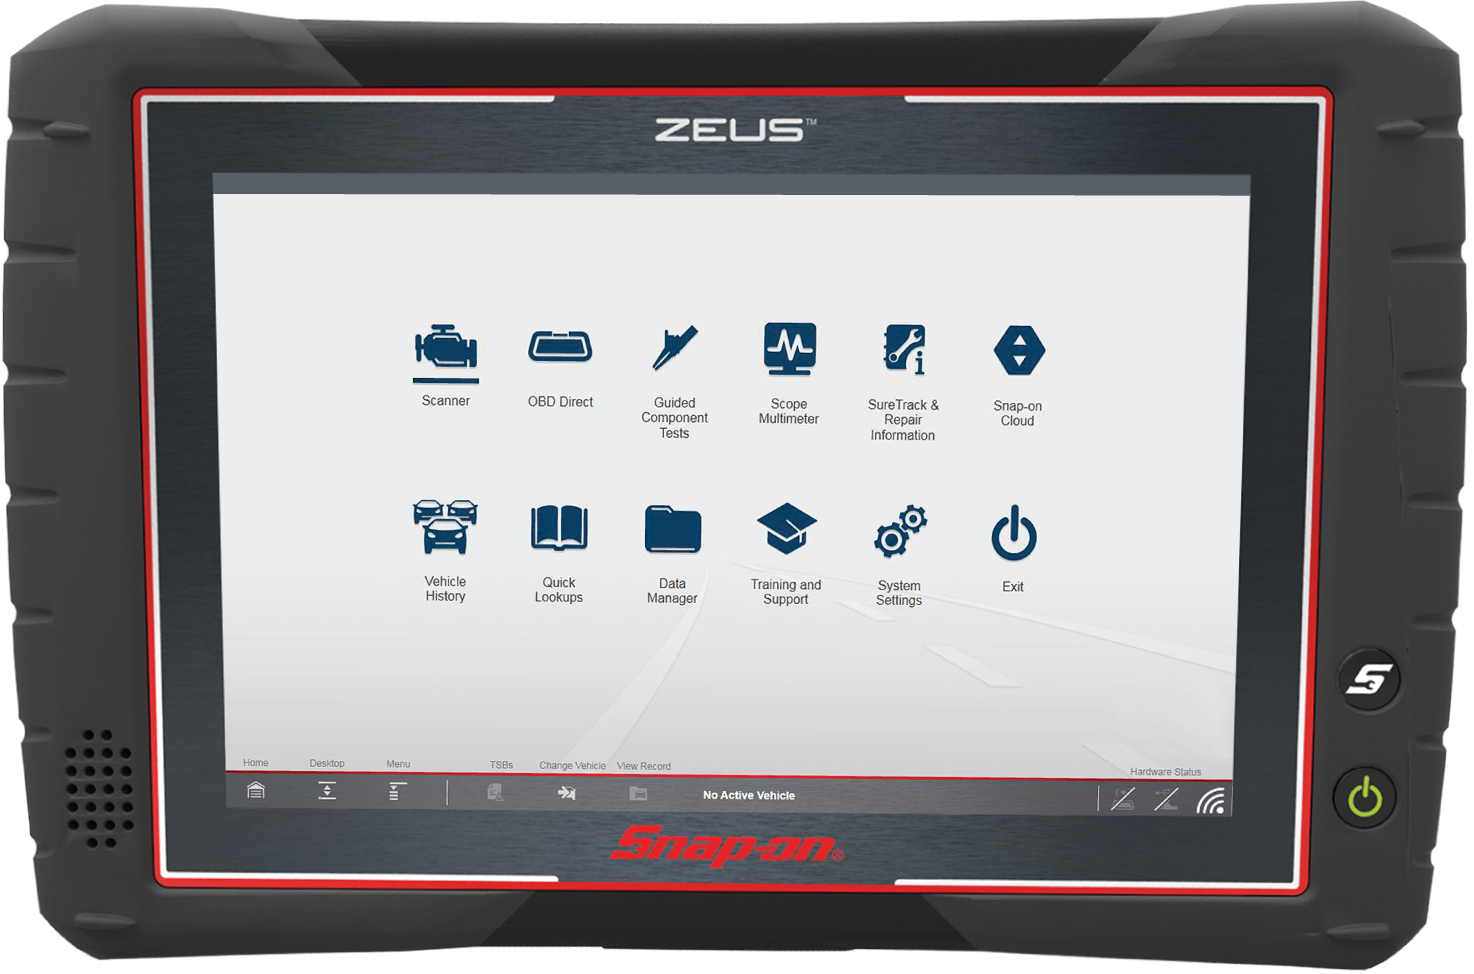
The ZEUS diagnostic tool is a specialized personal automotive diagnostic solution that combines information with test instrumentation to help you diagnose symptoms, codes, and complaints quickly and efficiently. There are three main components to the system:
● | Diagnostic Tool—central processor and display for the system |
● | Scope Module—oscilloscope/meter module used to measure circuits and signals |
● | Compact Scan Module—wireless module used to access vehicle data |
Click on an image to expand it, click it again to reset it. Try it on the image above! Does not apply to all images/illustrations.
Use your browser BACK button to view the last page you visited . For more information on how to use this application, see Using This User Manual Application.

1. | Loosen the two battery pack screws. |
2. | Place the top of the battery in first, then tilt it down to install. |
Only use the manufacturer recommended battery pack.
3. | Tighten the two battery pack screws. |
Do not overtighten the battery pack screws.
Click on an image to expand, click again to reset size. Try it on the image below! Does not apply to all images/illustrations.
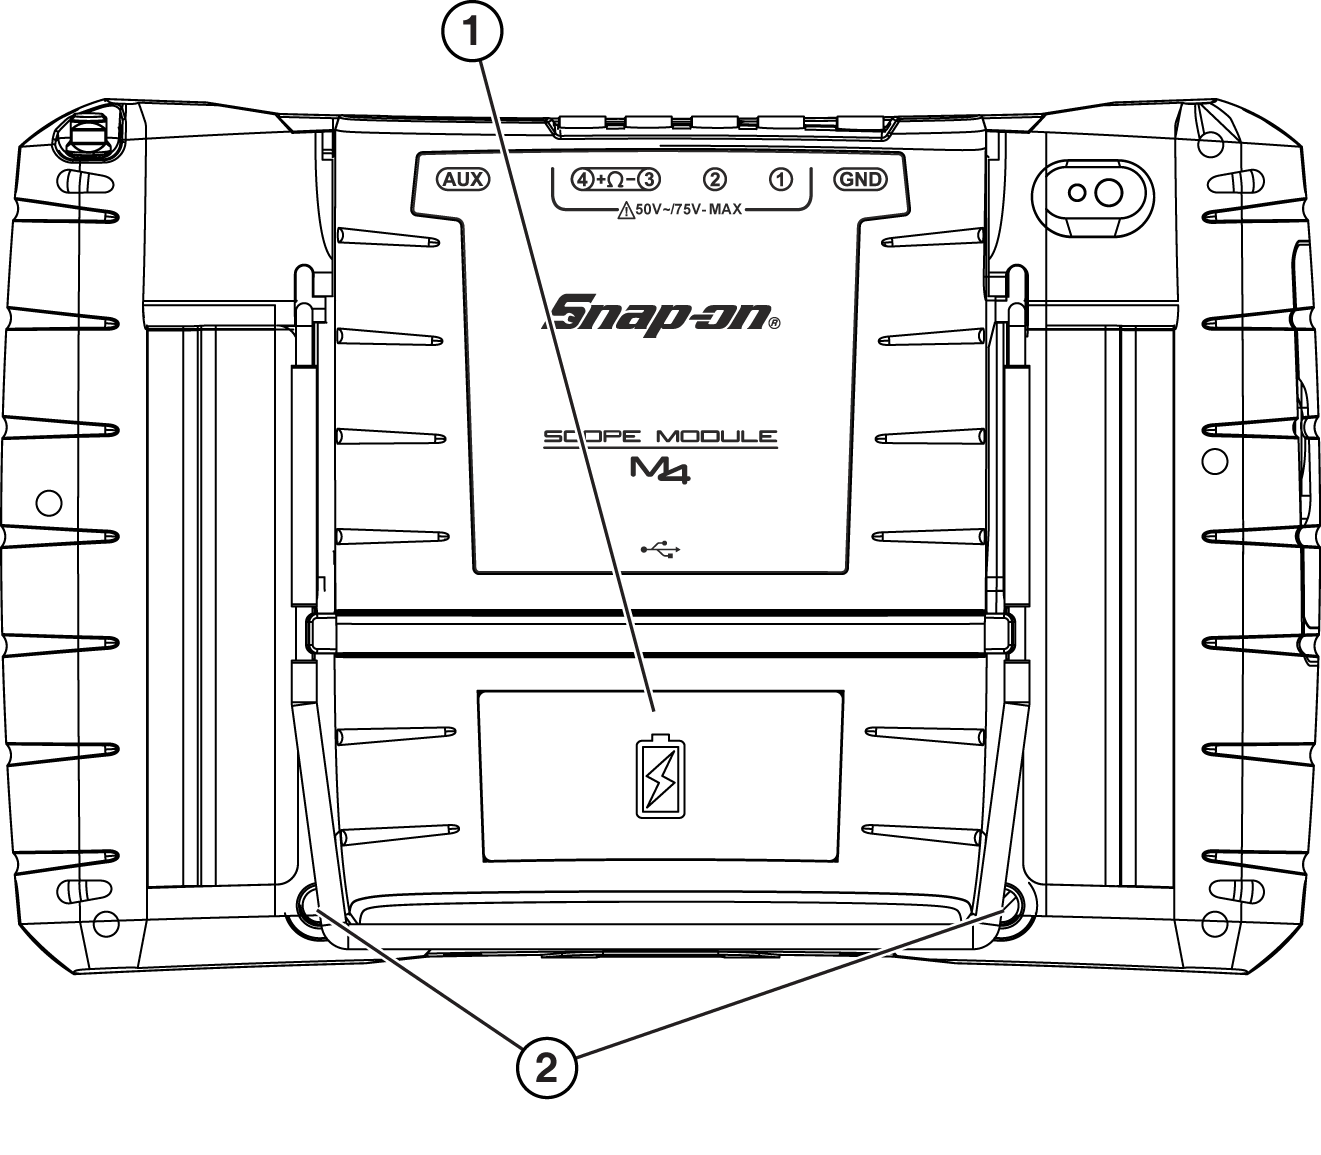
1. | Battery Pack |
2. | Battery Pack Screws (2) |
3. | Battery pack location |
Powering Up
To TURN ON the diagnostic tool, press and release the Power button .
The system boots up, then opens the ShopStream Diagnostic Suite Home screen.
The power button is also the battery status indicator.

Whenever the diagnostic tool is turned on, Wi-Fi will automatically try to connect to a network.
1. | Turn on the diagnostic tool and allow Windows to bootup, then allow the ShopStream Diagnostic Suite software to open. |
After bootup if Wi-Fi is not automatically connected the Wi-Fi icon in the System Tray (lower right side), or on the Diagnostic Suite lower toolbar indicates Wi-Fi is not connected.
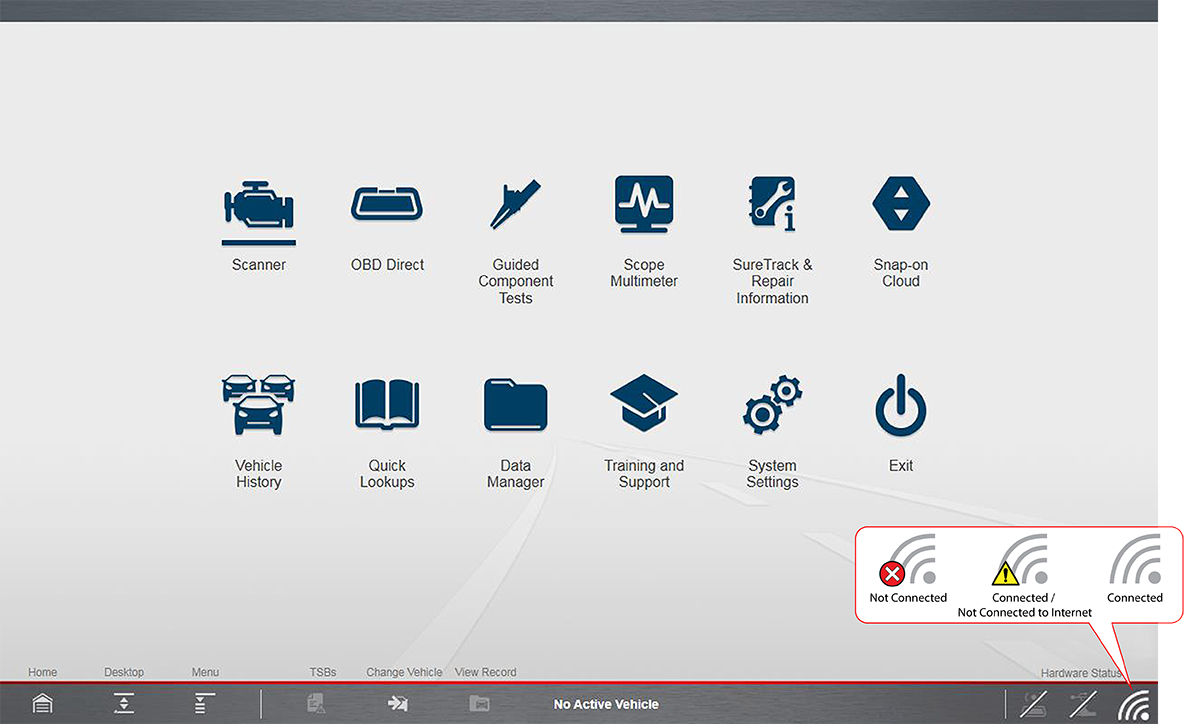
2. | To connect to a network, click the Wi-Fi icon in the System Tray or on the Diagnostic Suite lower toolbar. |
The wireless network connection window opens (shown below).
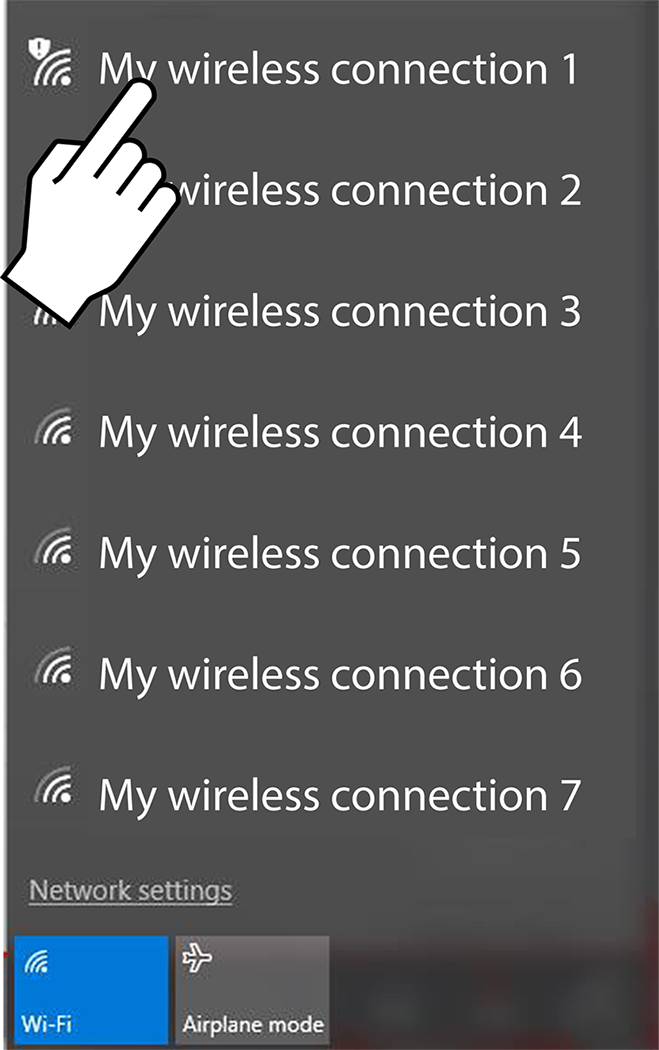
3. | Choose your Wireless Network from the list of available networks, then select Connect. |
A password is required when choosing a protected network.
A wireless network connection progress window displays as the connection is being made.
4. | After the connection is successfully made, the Wi-Fi icon will display as Connected ![]() |
The diagnostic tool is now connected to the Wi-Fi network.
Wi-Fi performance varies depending on your wireless network equipment and ISP.

Before you can use any of the companion Snap-on applications, you need to create a Snap-on Profile Manager account and link your diagnostic tool to it.
The Snap-on Profile Manager is where you manage all your companion Snap-on application accounts (e.g.
You only need to setup your Snap-on Profile once, and then you can access it anytime to add applications in the future.
If you already have a Snap-on Profile Manager account, just login using your Username and Password, then proceed to step 6 below.
1. | Using an Internet connected device, visit https://ALTUSDRIVE.com and select Create Individual Account from the Login screen. |
2. | Enter all the required information, create a Username and Password, then select Create. |
3. | At the “Success” confirmation screen, select Done. |
4. | Log in using your Username and Password. |
5. | Answer the security questions, then select Submit. |
6. | From Technician Profile Manager select the Device Management tab. |
7. | Select Add Device, then enter your Serial Number, PIN, Code, and Diagnostic Device Name and select Save when done. |
The numbers and codes needed (in the step above) are found on your diagnostic tool (see image below). The device Serial Number, PIN and Code needed to register are displayed onscreen.
= Home Screen > System Tools > Get Connected
8. | Log out of Profile Manager, then select the ALTUS Home Page browser tab to get started. |
9. | Reboot the diagnostic tool. |
For more information, see Additional Resources > Snap-on Profile Manager from the main menu of this manual.

Watch the video, then follow along with the setup steps below. Link opens in new browser tab.
For more information, see Additional Resources > Security Link from the main menu of this manual.
Currently Security Link is only compatible with Fiat Chrysler Automobiles (FCA) 2018+ models. For additional reference and future coverage see snapon.com/gateway
Step 1 - Get your diagnostic tool information
If you have not already linked your diagnostic tool to your Snap-on Profile Manager account, proceed with these steps below. If you have, proceed to the next step "Step 2 Create an AutoAuth Account" below".
1. | Connect your compatible diagnostic tool to Wi-Fi (ZEUS, VERUS Edge, and compatible tools released after 2021). |
= Home Screen > System Tools > Get Connected
2. | Select Get Connected |
Remember the following information from this screen:
● | Serial Number |
● | Pin Code |
● | Activation Code |
Step 2 - Create an AUTOAUTH account
AutoAuth requires an annual fee payment.
1. | Go to autoauth.com select Register and create an account. |
2. | Remember your Username and Password |
3. | Check your email and verify your account. |
4. | Login to your autoauth.com account and follow the link to complete your registration as a “Service Center Signup / Independent Technician Signup”. |
5. | After entering the required information select Sign Up. |
6. | Select the Manage Tools tab and enter the required information and select Add. |
For more information, see Additional Resources > Security Link from the main menu of this manual.
Step 3 - Adding your AutoAuth Credentials to your Snap-on Profile Manager
If you do not have a Snap-on Profile Manager account, you need to create one first, see New User - Create an Individual Account
If you are already using the
1. | If you already have a Snap-on Profile Manager account, log in and select the Device Management tab. |
2. | (If you have not already linked your diagnostic tool to your Snap-on Profile Manager account perform this step, if you have, then proceed to the next step.) Enter your Diagnostic Tool Pin Code and Serial Number from the Get Connected screen of your tool (See "Step 1 - Get your diagnostic tool information" at the beginning of these instructions). |
3. | Select the Security Link tab, then select Add Secure Credentials. |
4. | Enter your AutoAuth account username and password and select Save. |
5. | Your diagnostic tool is now linked to your AutoAuth account which allows you to connect and access the applicable secured gateways during scanner use. |
For more information, see Additional Resources > Snap-on Profile Manager from the main menu of this manual.

Use our online registration form to create and submit your contact information. Registering your diagnostic tool allows you to obtain warranty assistance and receive periodic messages from Snap-on about current products, features and promotions.
Register online (United States) : https://registration.snapon.com/products/DiagProductRegistration.aspx
Register online (Canada) : snapon.com/productregistration

For your safety and the safety of others, before you operate this device read and understand the Important Safety Information.