Wi-Fi
The diagnostic tool uses Windows® 10 embedded system software. Wi-Fi connection is controlled through the Windows operating system.
The Wi-Fi connection instructions shown here are intended for quick reference only. For Wi-Fi related instructions / troubleshooting that are outside the scope of these instructions, visit Windows online support.
Wi-Fi connection allows you to:
| ● | Access the Internet using the Windows web browser. |
| ● |
Access information applications (e.g. Snap-on Cloud, Intelligent Diagnostics, Note: Information applications are not available on all models, are optional and vary by model. |
| ● | Receive diagnostic software updates |
| ● | Receive important product messages. |
Connecting to Wi-Fi
Whenever the diagnostic tool is turned on, Wi-Fi will automatically try to connect to a network.
| 1. | Turn on the diagnostic tool and allow Windows to bootup, then allow the ShopStream Diagnostic Suite software to open. |
After bootup if Wi-Fi is not automatically connected the Wi-Fi icon in the System Tray (lower right side), or on the Diagnostic Suite lower toolbar indicates Wi-Fi is not connected.

| 2. | To connect to a network, click the Wi-Fi icon in the System Tray or on the Diagnostic Suite lower toolbar. |
The wireless network connection window opens (shown below).
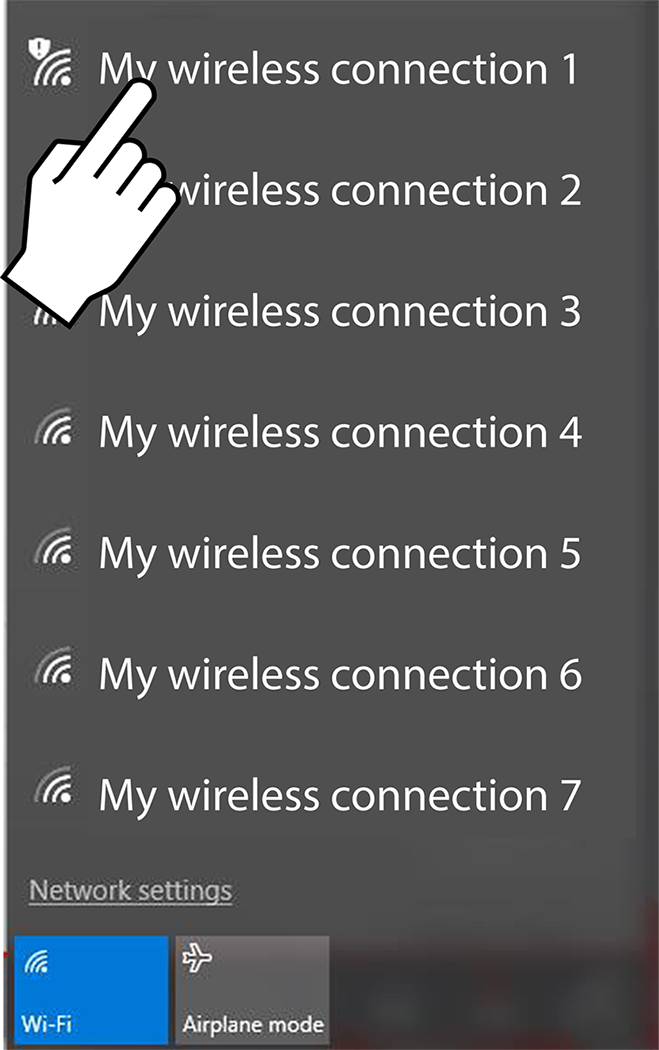
| 3. | Choose your Wireless Network from the list of available networks, then select Connect. |
A password is required when choosing a protected network.
A wireless network connection progress window displays as the connection is being made.
| 4. | After the connection is successfully made, the Wi-Fi icon will display as Connected (shown below). |

The diagnostic tool is now connected to the Wi-Fi network.
Wi-Fi performance varies depending on your wireless network equipment and ISP.


