Modern petrol vehicles rely on the EVAP system to prevent fuel vapour escaping into the atmosphere. When faults occur, technicians often face general EVAP‑related DTCs, returning engine lights, and the risk of misdiagnosis or unnecessary parts replacement.
By using a structured approach—DMTL pump run testing first, then smoke testing, then a hydrocarbon (“HC”) sniff test—technicians can locate leaks quickly and eliminate guesswork. This article outlines that full process and includes a detailed Mazda 6 case study.
Stop EVAP comebacks: Using the built‑in DMTL pump run self‑test to confirm “leak present or not” before doing anything else is the single most effective way to avoid trial‑and‑error parts replacement. Once a leak is indicated, smoke + HC sniffing identify the location with confidence.
EVAP System Overview
The EVAP system is composed of multiple interdependent components that work together to capture and control fuel vapors. Understanding each part is essential for accurate diagnostics.
Key Components
Canister: Stores vapours in activated charcoal; some designs integrate the vent valve and filter
Purge Solenoid: Controls vapour flow to the intake (often PWM). Critical for purge flow control and during leak tests
Vent Valve: Electronic on/off valve. Admits filtered air in normal operation and closes to seal the system during leak tests. Low mounting height makes it vulnerable to dust, salt and moisture; contamination is a very common UK failure pattern
Fuel Tank Pressure (FTP) Sensor – Reports tank pressure/vacuum to the ECM (three‑wire 5 V ref, signal, ground). Plausibility of this reading is crucial when validating a leak test result.
Leak Detection Devices
DMTL / leak detection pump – Applies a calibrated pressure/vacuum; the control module interprets current draw/pressure decay to infer leak size.
Other OEM strategies include NVLD/ESIM, but the diagnostic logic (seal → stimulate → measure) is similar.
BMW DMTL and the ESIM (Evaporative System Integrity Monitor)
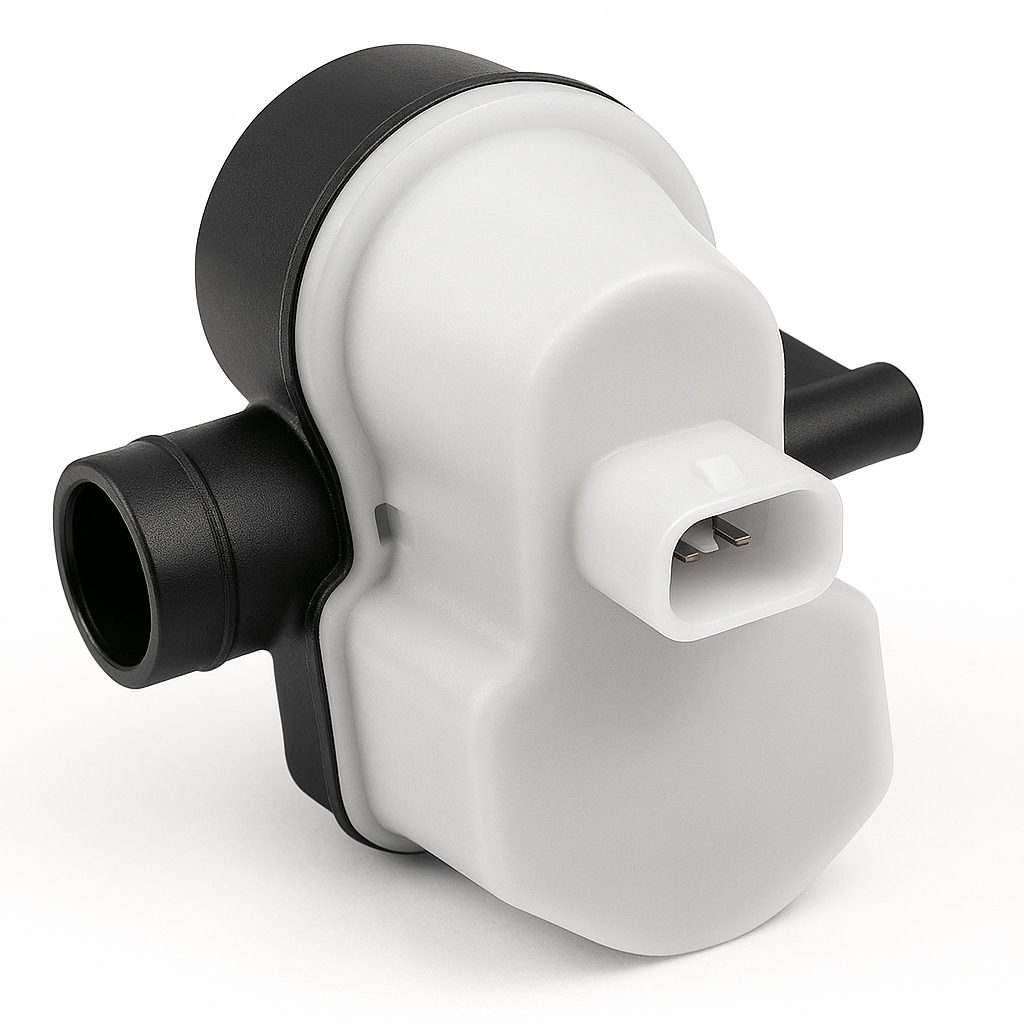
BMW uses the DMTL (Diagnostic Module Tank Leakage) pump to check EVAP system integrity. At rest, fresh air flows through the sprung-open pump valve. During a leak test, the DME activates the pump, which pushes air through a restrictor; the resulting amperage is compared to reference values to assess system integrity. The solenoid valve then seals the system, and the amperage draw indicates the presence and size of any leak.
While EVAP components such as DMTL pumps and advanced leak‑detection modules have been widely used in the USA for many years, older European models often featured much simpler EVAP systems because regulations were less stringent. As EU6 and upcoming EU7 emissions legislation have tightened evaporative‑emissions limits, newer European vehicles now use EVAP hardware and diagnostics much closer to those seen in the North American market. This means modern EVAP system layouts, leak‑testing strategies and diagnostic routines are becoming increasingly consistent across regions.
Leak detection results:
For example, you can perform the EVAP Tank Leakage Diagnosis (DMTL) Functional Test on your Snap-on® tool, as shown in the screenshot below from the 2010 BMW 335i.
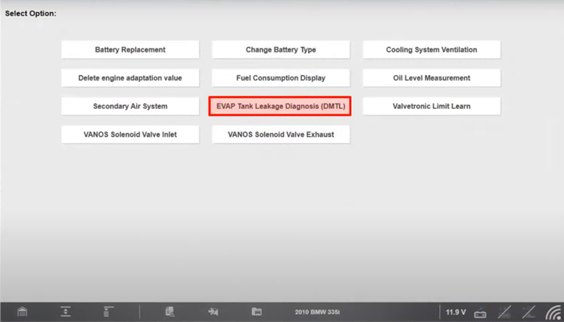
Image Caption: 2010 BMW 335i Functional Tests
Tech Tip: After a “leak present” result, do not jump to parts. Move straight to smoke (EVAP‑safe oil, nitrogen, vent commanded closed) and then HC sniffing around tank seams, line unions, canister and vent paths.
Why EVAP Issues Occur
-
Vent valve contamination: Dust/salt ingress causes sticking/blocked vents, leading to refuelling cut‑off, poor sealing, or “false leak” symptoms.
Common DTCs
Electrical faults do not indicate leaks; correct interpretation prevents wasted time and unnecessary parts replacement. Not all EVAP codes indicate a leak electrical purge/vent valve faults (P0443, P0446) are circuit issues, not system leaks.
Many technicians still clear codes first, losing freeze‑frame context. Avoid this—those conditions (light‑throttle cruise, coolant temp > 80 °C) are your clue to when the self‑test ran and when to reproduce it on road test.
How the EVAP System Operates
Normal Operation (“Front Door / Back Door” Analogy)
In normal running or refueling:
Vapor Storage and Purging
Vapour is stored in the charcoal canister. When commanded, fresh air flows through the vent, purged vapour is burned in the engine.
Leak Testing Sequence
During a leak test:
Leak tests typically run when the vehicle is fully warmed and driven at a steady pace.


Testing Methods
-
Electrical testing – With a scan tool, you can activate purge and vent valves, monitor sensor responses, and confirm whether the system seals correctly under command.
Testing Methods (what to use, and when)
Practical real-world examples, such as the Toyota EVAP purge solenoid test, show how these methods integrate seamlessly with Snap-on® diagnostics to streamline the path from fault to confirmed fix.
Real-World Example: Toyota EVAP Purge Solenoid Test
Toyota EVAP Purge Solenoid Test: Operational Procedure
-
Select: Service Resets and Relearns > Replace EVAP Purge Solenoid.
-
The tool automatically checks OEM recalls, TSBs, and campaigns relevant to this job.
-
If you have a Snap-on Information System subscription, link directly to repair information from within the tool.
-
Select: EVAP purge solenoid replace.
-
Choose: Remove and replace to view the OEM repair procedure.
-
Return to Scanner and select: Functional Resets and Calibrations.
-
Select: Activate the EVAP Purge VSV.
-
Follow onscreen instructions to complete the procedure.
-
Cycle the control from OFF to ON and confirm solenoid operation.
Diagnostic Strategy
Common Technician Pitfalls
Recommended Step‑by‑Step Workflow
Tech tip: Use the same step‑by‑step method on every vehicle. Don’t assume today’s car is “another tank” just because yesterday’s was, test, don’t guess.
Mazda® 6 vehicles with the 2.5L engine (14 Sept 2009 – 2 May 2011)
Complaint: Customer reports the fuel tank will not refill, the fuel nozzle repeatedly clicks off immediately during refuelling, with no obvious drivability concerns. EVAP‑related DTCs may or may not be stored.
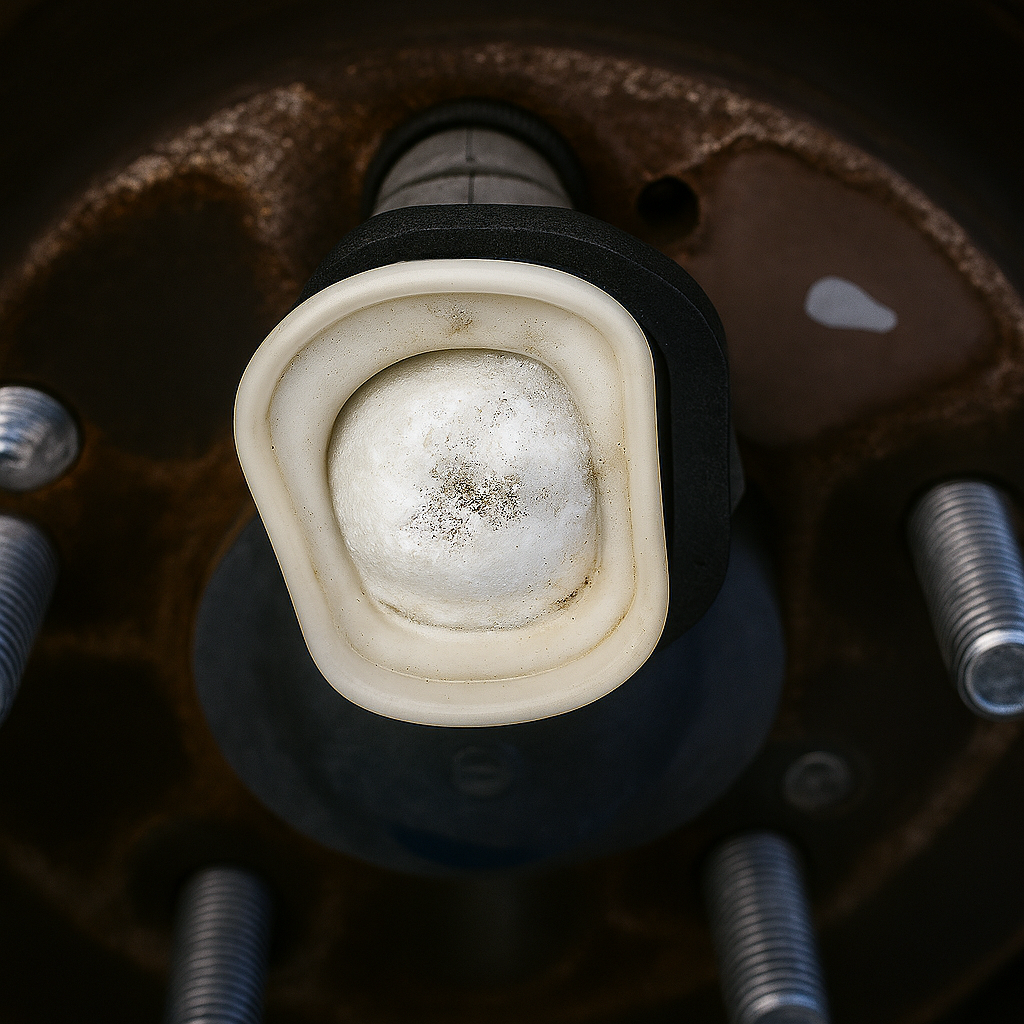
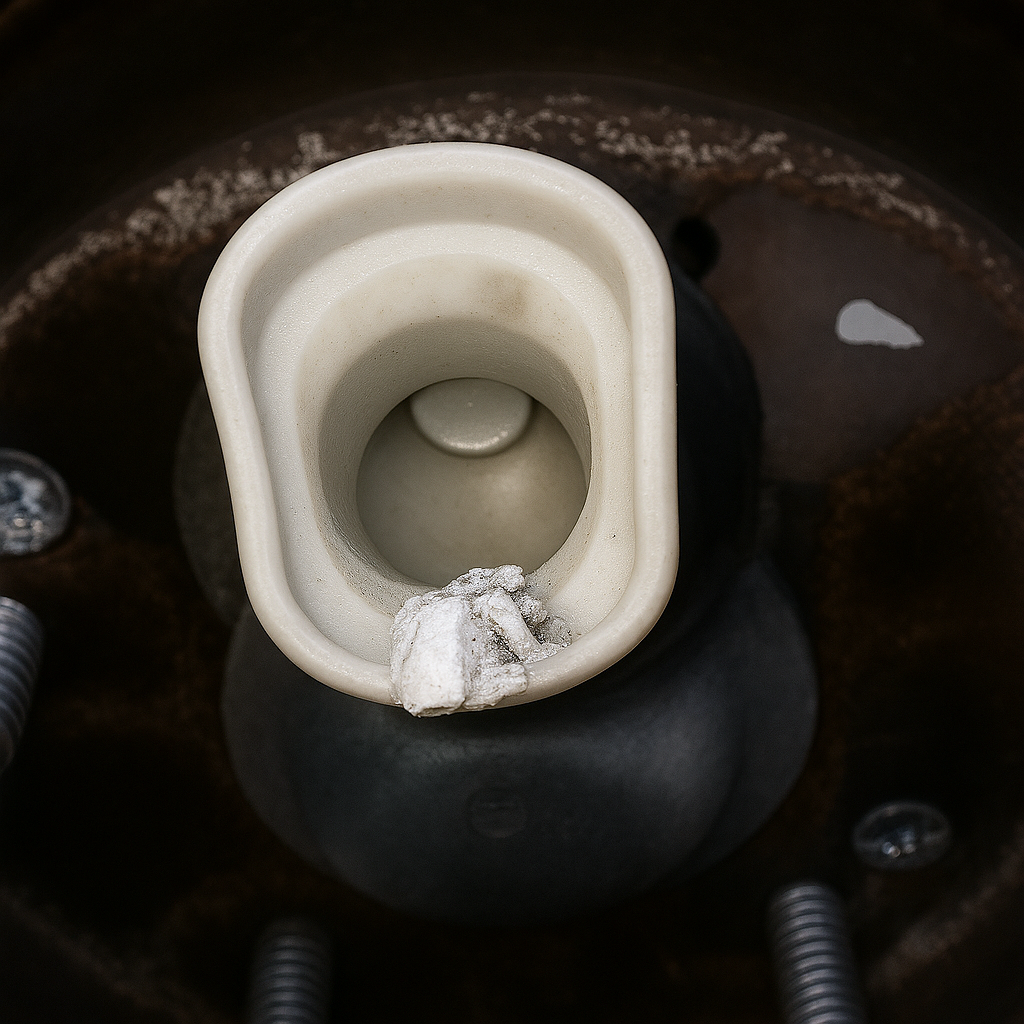
Cause: The EVAP canister vent line becomes blocked by spider webs and debris inside the hose near the vent valve. This obstruction prevents normal tank ventilation during filling, creating excessive negative pressure inside the tank.
Consequences of this blockage can include:
This issue is covered under Mazda safety and emissions recall 7214C.
Snap‑on® Advantage
Snap‑on diagnostic platforms provide one‑click access to TSBs, recalls, and OEM campaigns, allowing technicians to identify known issues instantly without unnecessary exploration or dismantling. Guided EVAP testing routines further support accurate diagnosis and help prevent avoidable EVAP‑related comebacks.
Blocked vent lines such as those found on the Mazda® 6 demonstrate why ventilation faults must be checked early, especially when refuelling complaints are present. Physical restrictions are common, and identifying them correctly avoids needless part replacement and repeat visits.
EVAP System Diagnosis Guide: DMTL Pump Test, Smoke Testing & Proven Workflow
A repeatable, structured diagnostic process is essential for solving EVAP faults efficiently and preventing comebacks. Lead with the DMTL pump run test to establish “leak/no‑leak,” then use smoke + HC sniff to pinpoint the source, and validate with simple electrical checks where needed. Test, don’t guess, make the DMTL pump run test your starting point for every EVAP‑related fault.
Training Video: EVAP System Diagnosis
EVAP Leak System FAQs
Q1: Why do EVAP faults appear after steady driving?
Most EVAP self‑tests run only when the engine is warm and driven steadily.
Q2: Can a gas analyser be used for EVAP leak detection?
Yes—use an MOT emissions analyser in free‑running mode to pinpoint the leak area.
Q3: Should I still check the fuel cap first?
Yes—but if the fault returns, continue with system tests.
Q4: Why do EVAP comebacks happen?
Often due to skipped steps or clearing codes too early, losing freeze‑frame clues.
Q5: How do I distinguish electrical faults from leaks?
Use active tests. Purge/vent electrical codes (e.g., P0443/P0446) are circuit issues, not leak sizes.
Q6: Why do vent valves fail so often?
They sit low and take on contamination and moisture.
Q7: What’s the golden rule for EVAP work?
Self‑test → smoke → sniff → electrical checks, then verify on road test.
*This article is intended for informational purposes only and is designed to provide general technical insight. It is not intended to serve as step‑by‑step repair or diagnostic instruction. Always follow manufacturer‑approved procedures and safety guidelines when carrying out vehicle diagnostics or repairs.